Valid for Sitecore
5.3
Export Languages to a File
The Export Languages to a File option allows you to export the content for specified languages into an XML file for translation using external tools.
Once selected, this option starts the Export Language wizard, which will guide you through the rest of the exporting process.
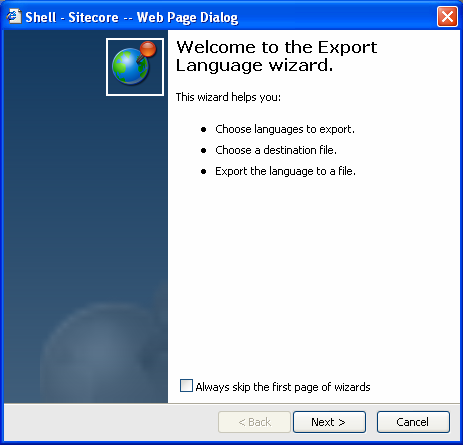
The steps of the Export Language wizard are described below.
-
Step 1.
Select the languages you wish to export. Check the appropriate checkboxes and click Next (see the screenshot below).
Choose the language containing the original content and any languages you wish to translate from the original using external editing tools.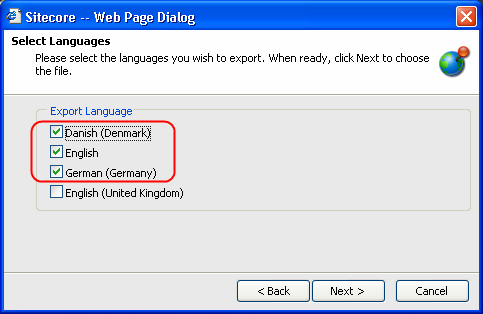
-
Step 2.
Select the point from where to start the language export. Note that the selected item and all the subitems will be included. Сlick Next when ready.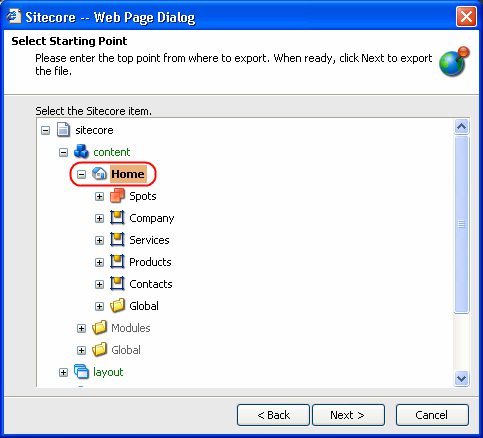
- You may either manually enter the language file name with the extension (normally this would be .xml, as output files are stored in an XML format) into the appropriate field or browse for a language file by clicking the Browse button. When ready, click Next to export the file.
Note: By default, the files are put into the /temp folder of the Sitecore root.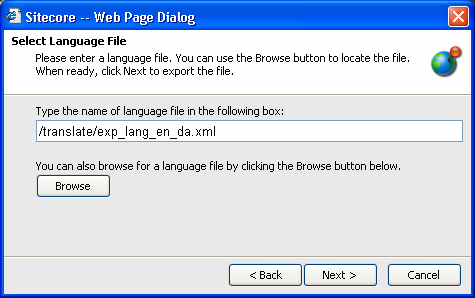
Note: if you specify a particular folder for the exported file, this folder must already exist, otherwise you will get an error message. - Once the file has been exported, the wizard has completed dialog step will appear (see the screenshot below).
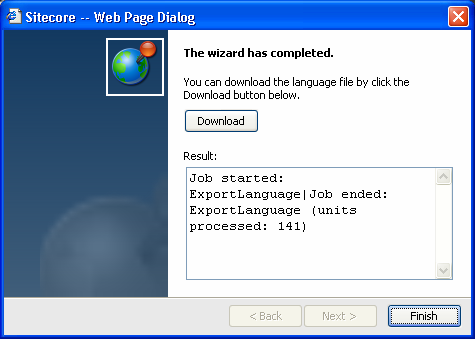
The resulting file is saved in the location specified on the previous step.
In the dialog, select the Download button to download the resulting file.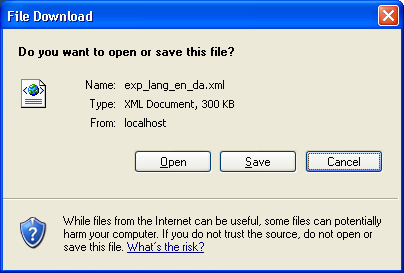
When you open the language file it will look something like this.